EXTRAVAGANT - Die Handwerk Manufaktur®
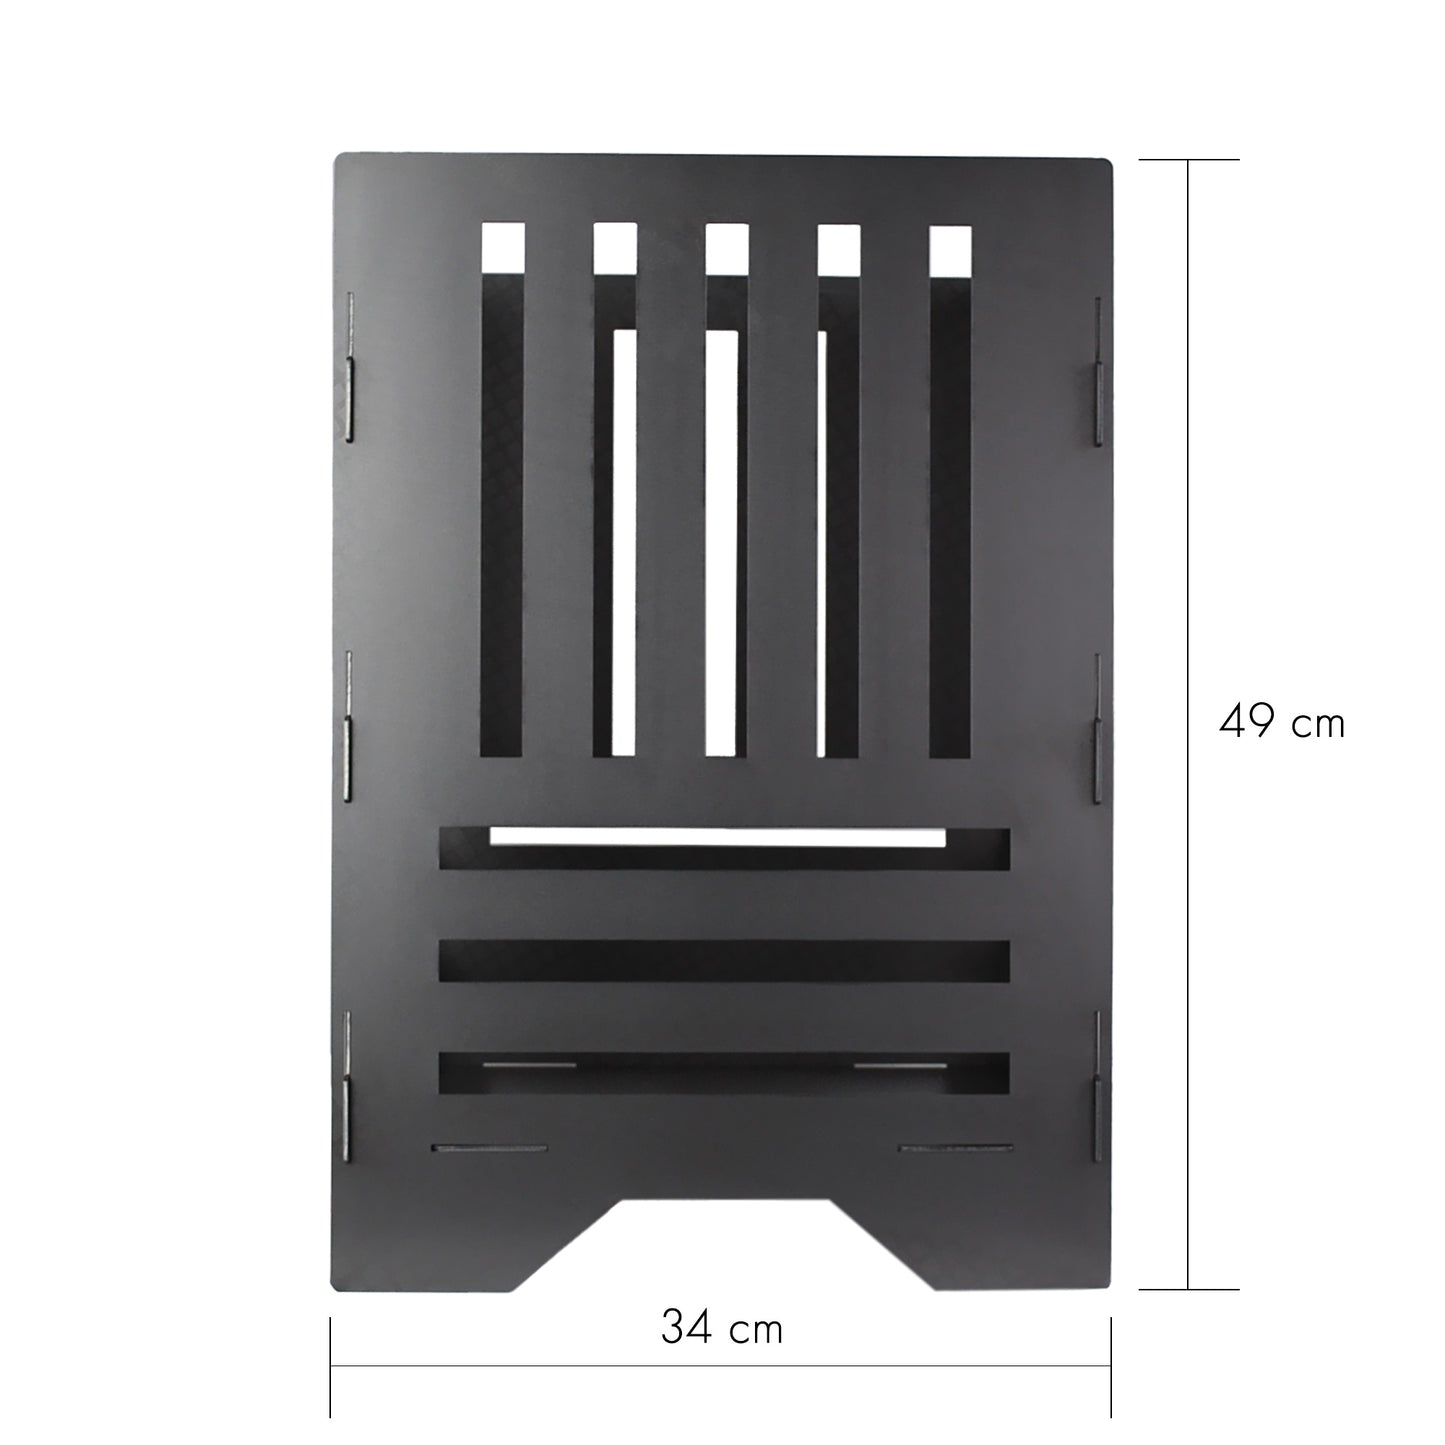
Fire barrel, fire basket, fire column, fireplace | Modern motif
Fire barrel, fire basket, fire column, fireplace | Modern motif
Couldn't load pickup availability
- Free shipping
- 100% secure payment
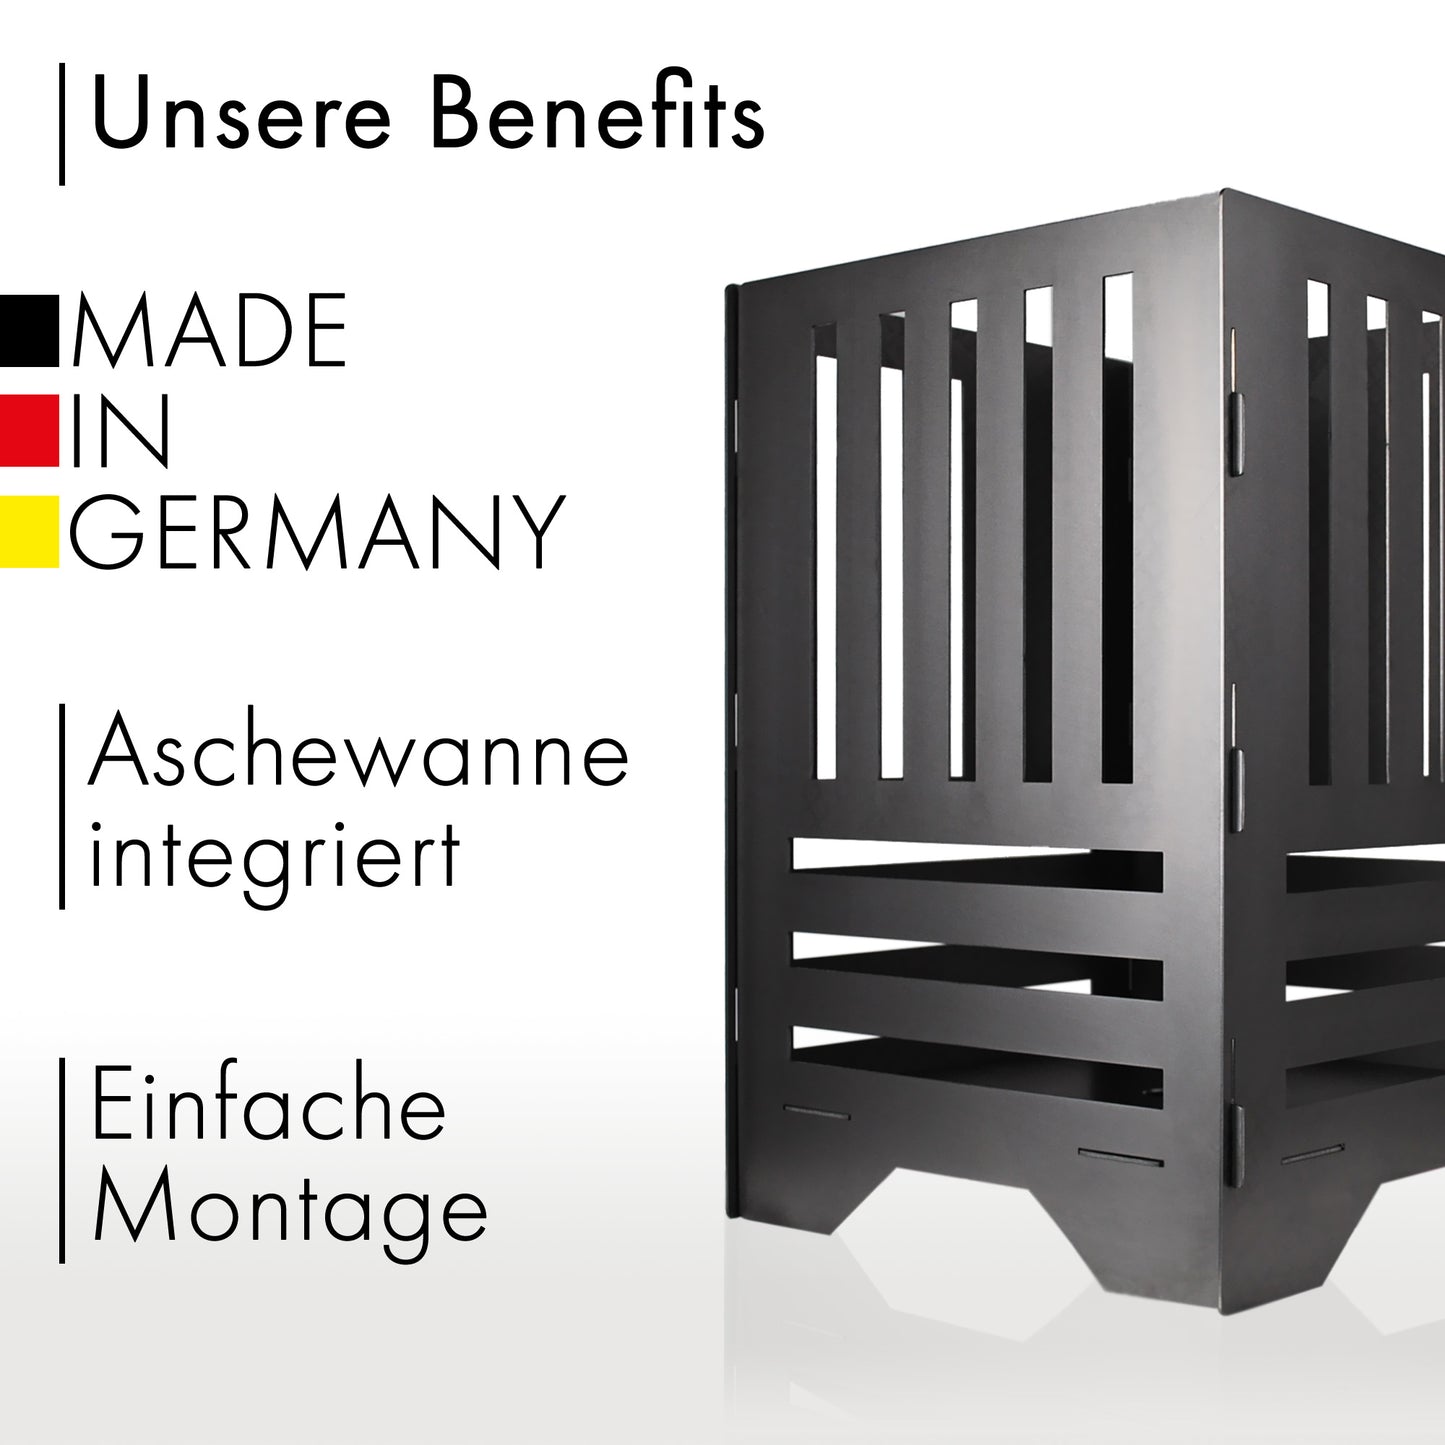
- Eigene Fertigung in Deutschland
Product safety information
Product safety information
1. Pay attention to cutting edges:
Be careful of the cut edges in the fire barrels. They can be sharp, even with expert and careful deburring!
2. Place of use:
- Use the fire barrel only outdoors and not in enclosed spaces!
- Do not use the fire barrel under canopies or near easily flammable materials!
3. Weather conditions:
Do not use the fire barrel during prolonged dry periods or strong gusts of wind!
4. Stability:
Place the fire barrel on a fireproof, stable, and level surface. The barrel must not wobble or tip over.
5. Avoid fire hazards:
- Never light the fire with accelerants such as gasoline or spirits!
- Do not use waste, plants, or damp or treated wood. Use only dry, natural, low-resin wood.
6. Filling quantity:
Never fill the fire barrel over the rim to minimize sparks and ensure stability.
7. Duty of supervision:
- Never leave the fire barrel unattended!
- Never leave the appliance unattended within reach of children and pets!
8. Sparks flying:
Beware of sparks flying at the cut-out areas when winds pick up. Remove any flammable materials in the area!
9. Risk of burns:
Do not touch the fire barrel during or immediately after use! There is a risk of burns.
10. Smoke development:
If there is heavy smoke or flying sparks, extinguish the fire immediately!
11. Deletion option:
Always have a suitable fire extinguishing device available, such as a fire extinguisher, a bucket of water or sand.
12. After use:
- Let the fire burn down in a controlled manner and watch for any remaining embers that could reignite the fire.
- Allow the fire barrel to cool completely before touching it or removing the ashes.
- Remove all ash only after it has completely cooled down and dispose of it safely.
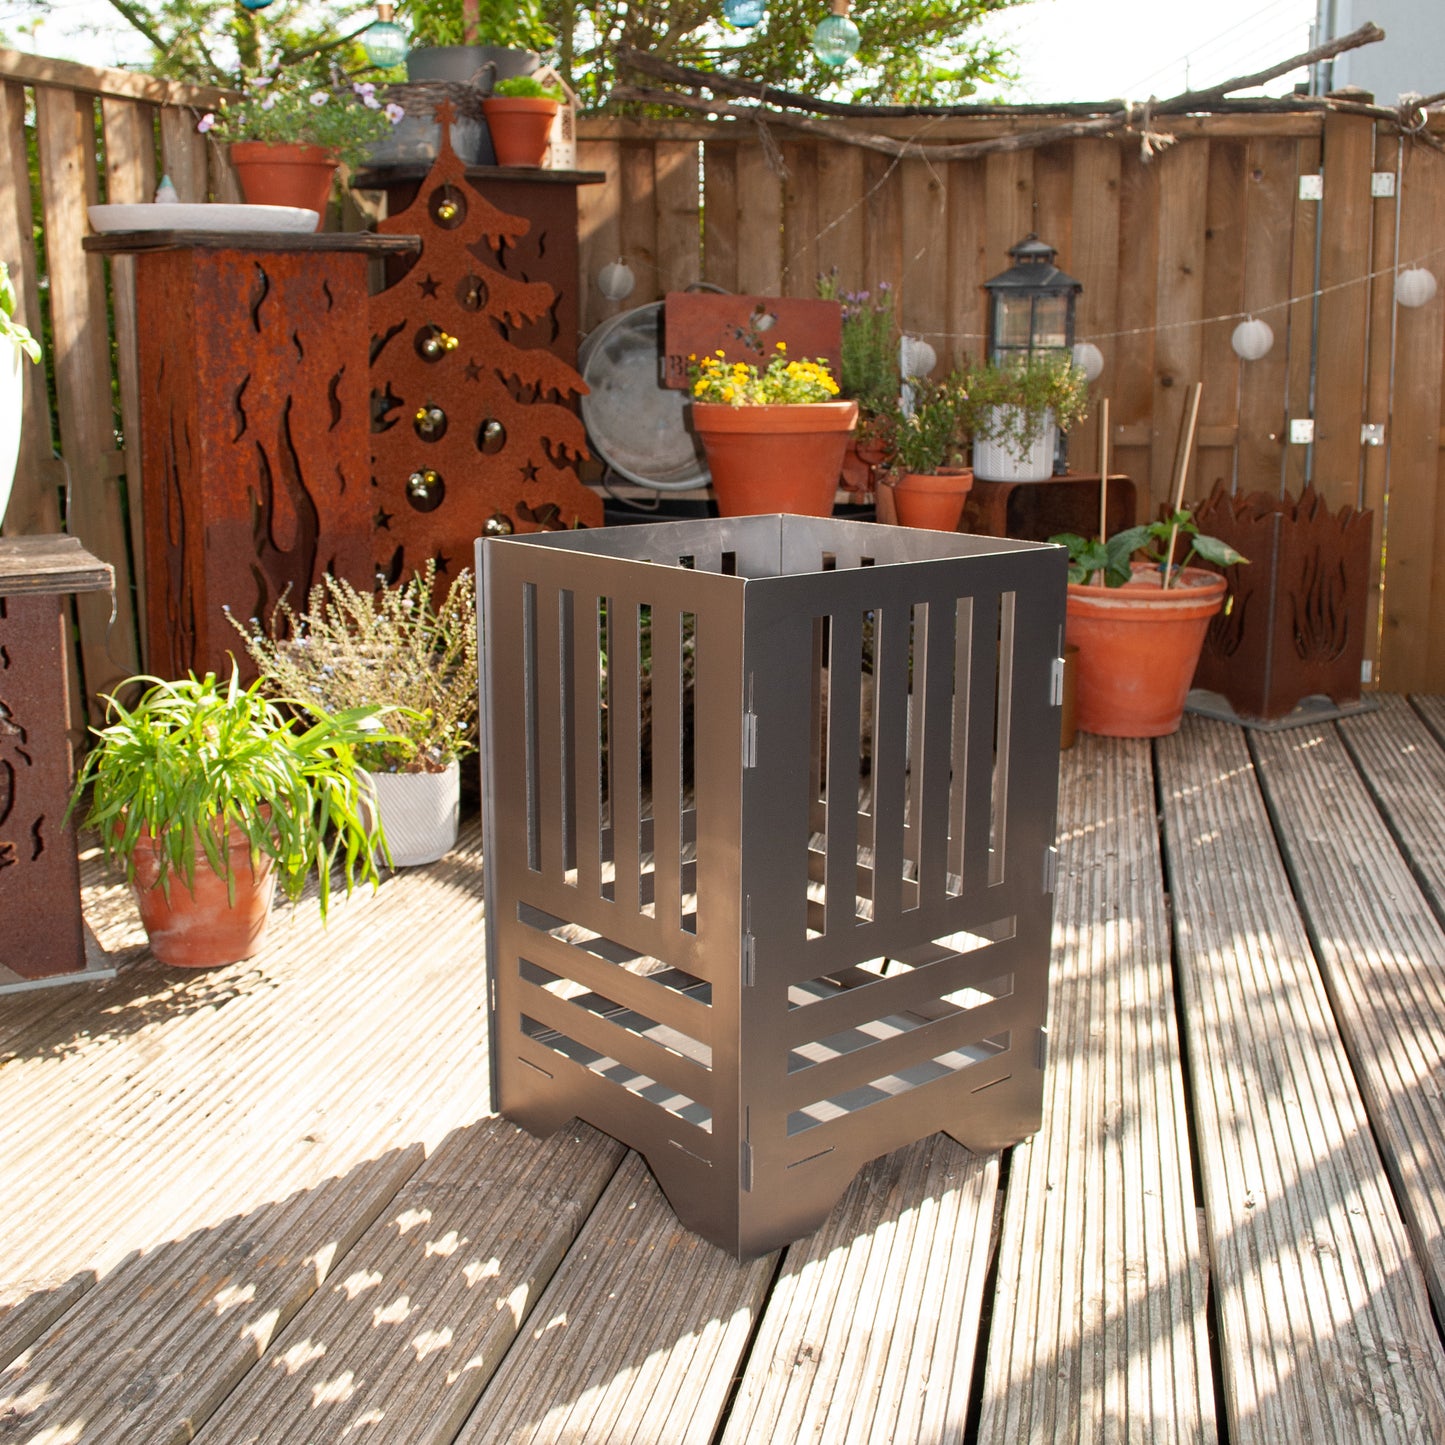
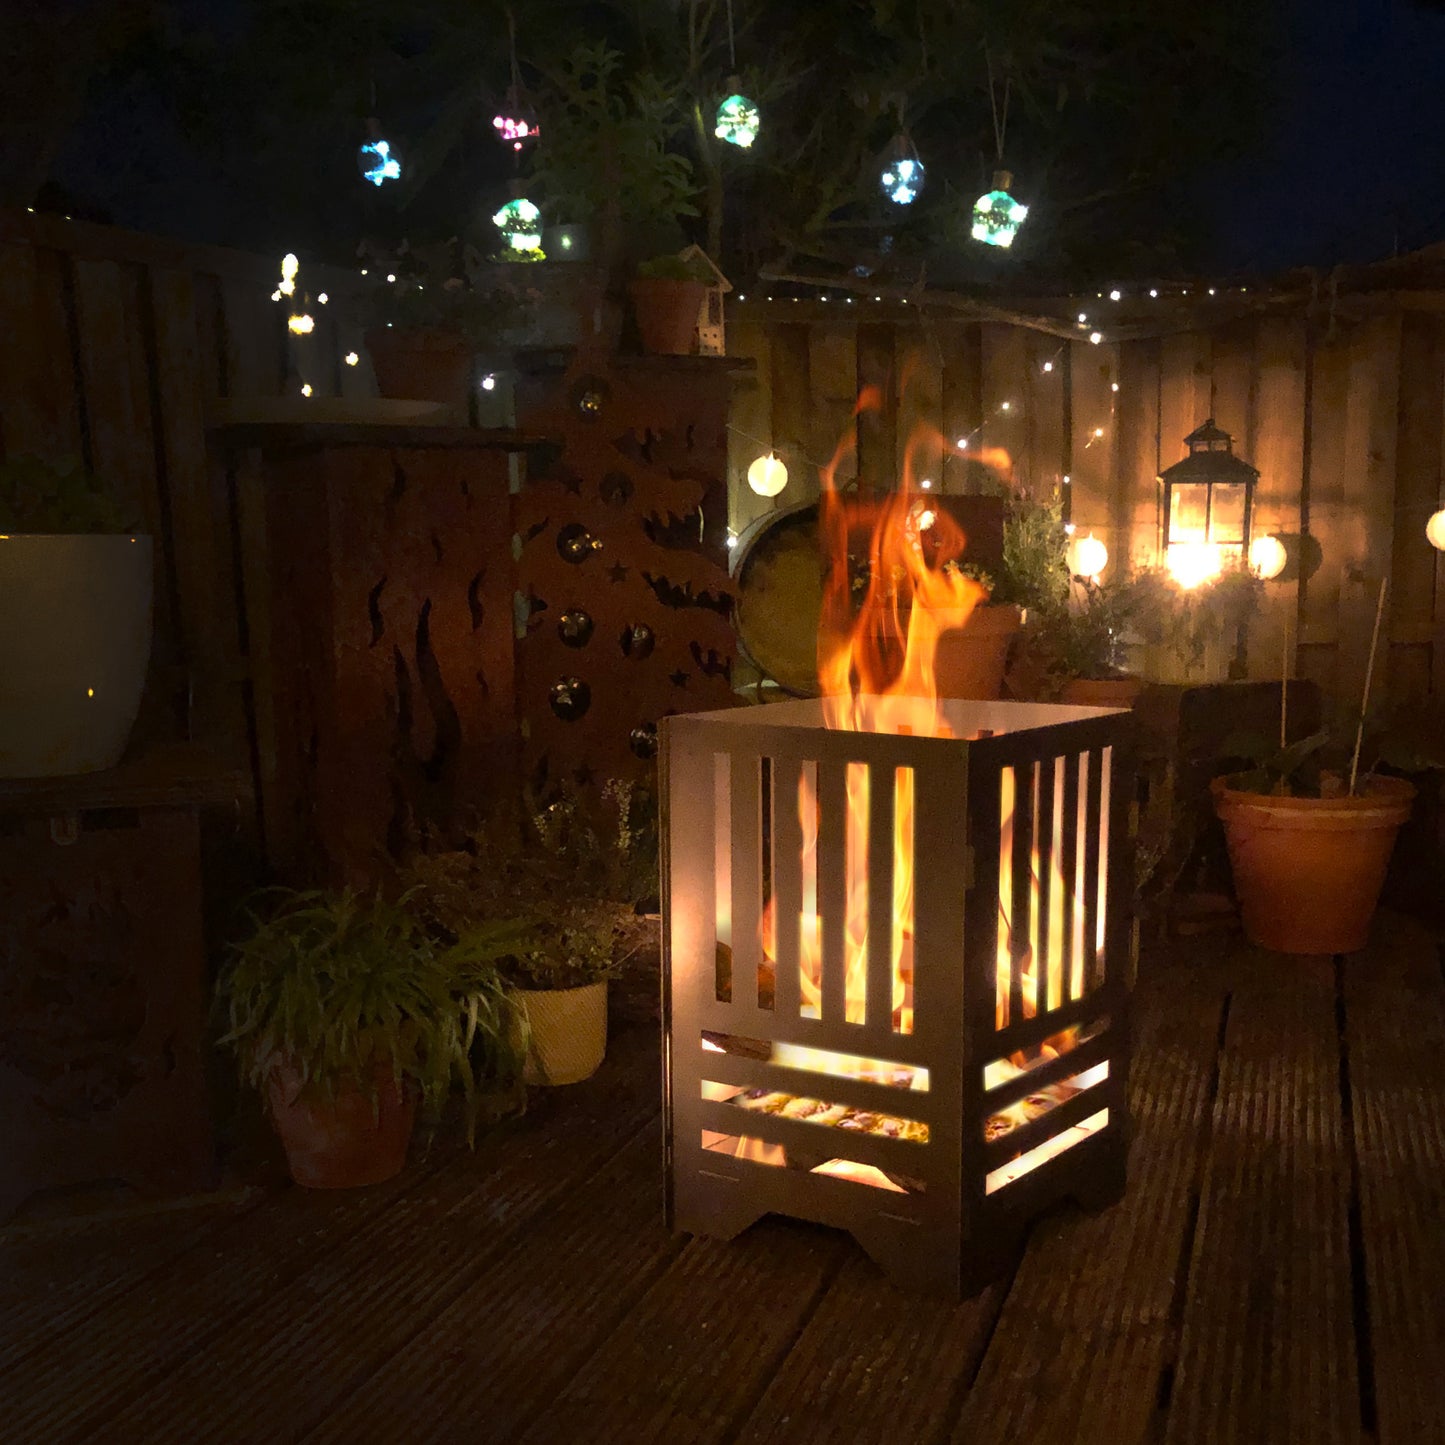
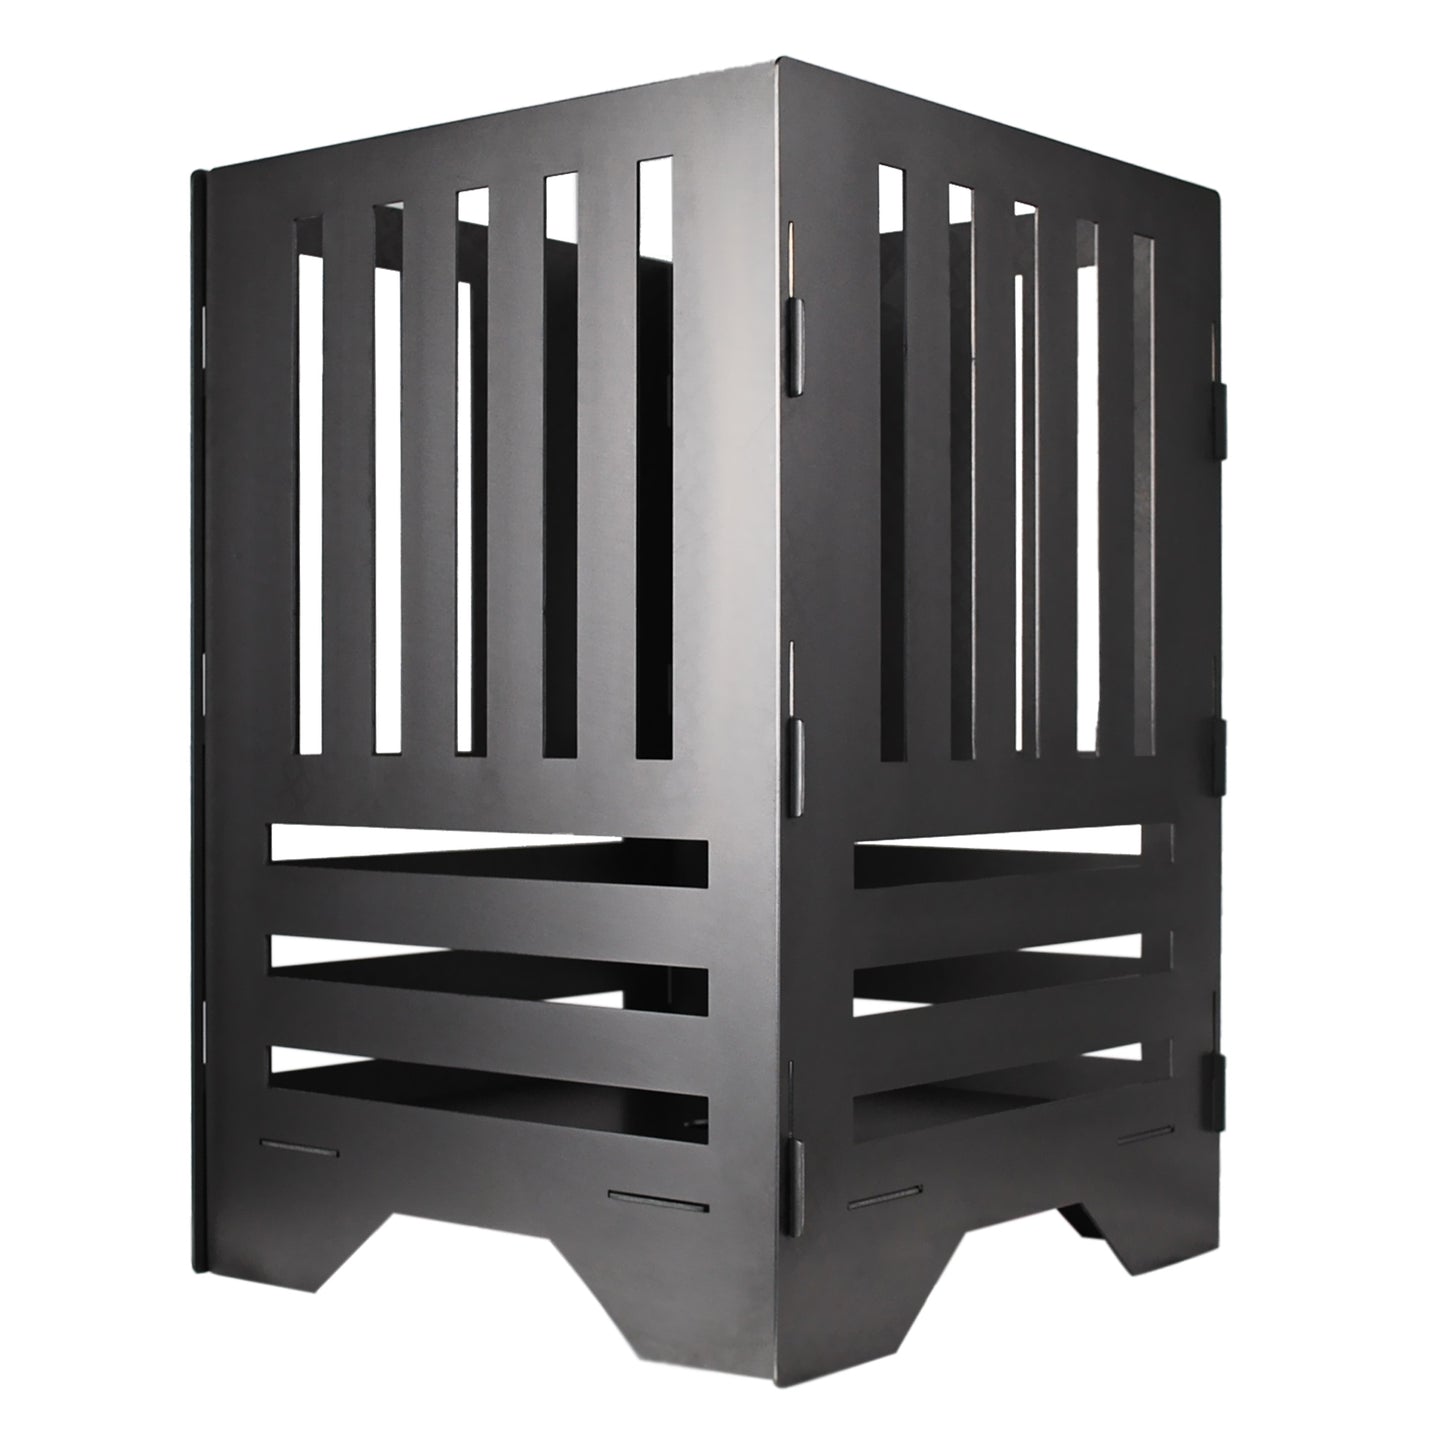
Thanks to its clever plug-in system, the fire basket is easy to transport and quickly set up at the desired location. The built-in grate ensures that the firewood is not directly on the ground, creating a safe fire pit.
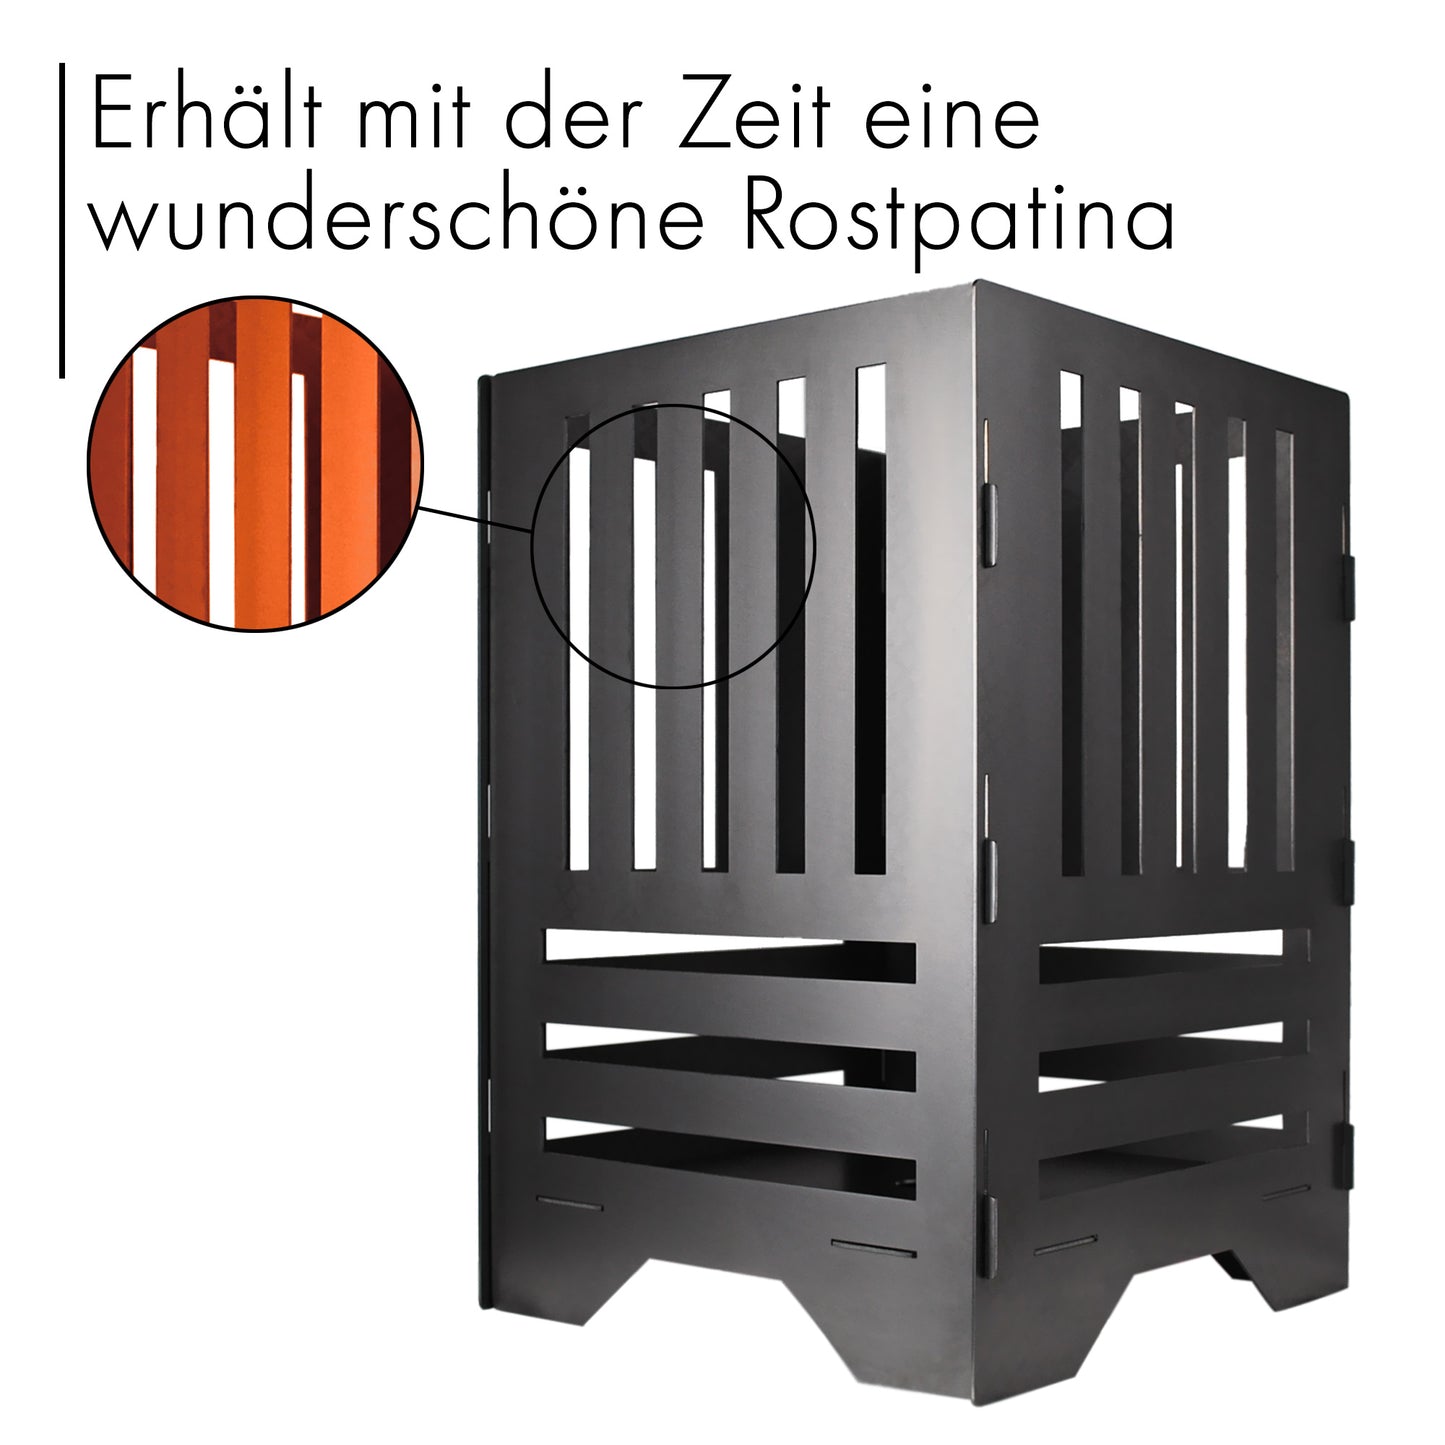
Please note that the fire barrel may have scratches and marks caused during the manufacturing process. Outdoors, the fire column will develop a beautiful, unique rust patina. Due to the material, some rust may already be present upon delivery.
SKU:220035
View full details